Overview of the Updated Sheets Editor
Making source sheets on Sefaria is easy and allows creators to draw together a wide variety of sources, across media, and create a shareable digital document.
Features of the updated editor
- Edit and read in the same view - No need to switch between edit mode and library view.
- Add content anywhere on the sheet - No need to use modules. Wherever you click, a + will appear. Type text or add sources, images, and media using one of the icons described below.
- Save automatically - All sheets are saved automatically. No need to press a "Save" button.
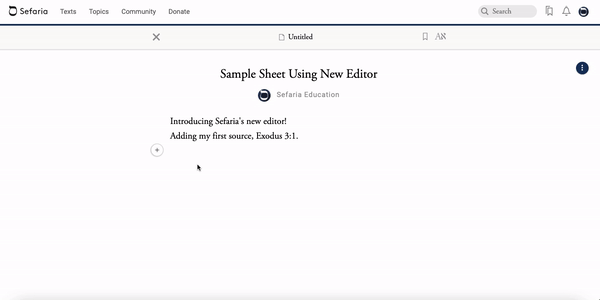
Beginning a new sheet
- Rename the sheet.
- Start typing.
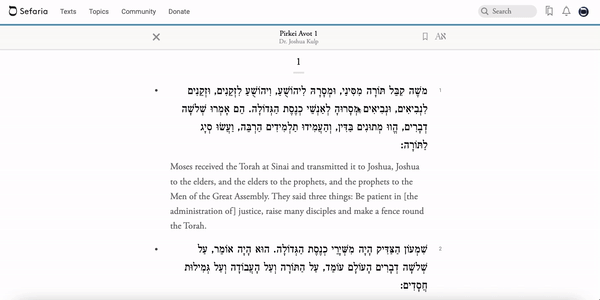
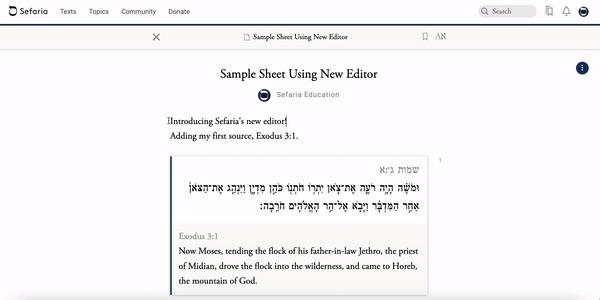
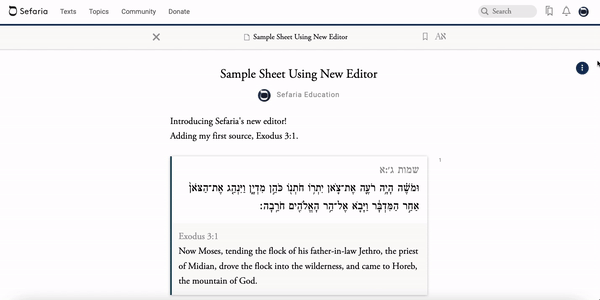
Add a text from Sefaria's library
Adding from within the sheet:
- In the + menu, click on the first icon (quotation mark).
- Type the citation - Use the dropdown menu if needed.
Adding directly from the library:
Note: Use this method to add a translation other than the default translation or to add a specific text version, such as Tanakh without nikud.
Note: Use this method to add a translation other than the default translation or to add a specific text version, such as Tanakh without nikud.
- Find the source in the library and click on it to open the resource panel.
- Select the text that you would like to add to the sheet. It can be one passage or a series (ex. several verses).
- Click "Add to Sheet" in the resource panel and select the sheet you would like to add the source to.
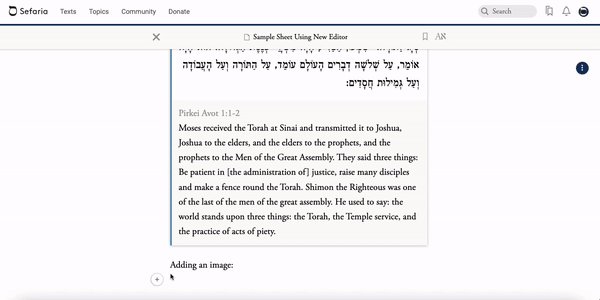
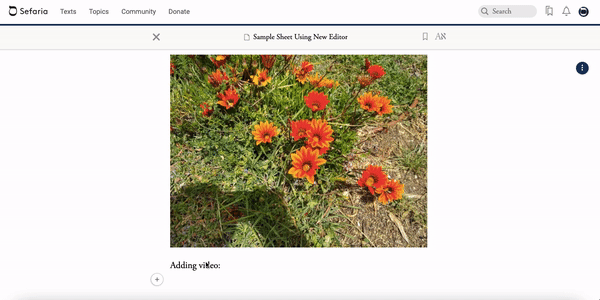
Add an image
- In the + menu, click the second icon (image).
- Double click on the name of the image on your computer.
Add media
- In the + menu, click the third icon (video).
- Paste a YouTube or mp3 URL into the bar and click "Add Media".
Add comments or an outside source
- Click on any white space on the sheet. Do not click on the plus sign.
- Type your own comments or paste an outside source.
Formatting your sheet
Highlight the text that you would like to format and the formatting tool bar appears.
The formatting tool bar from left to right:
- Bold
- Italics
- Underline
- Highight
- Hyperlink - Click on the link icon and copy the link URL.
- Header
- Numbers
- Bullets
- Click on the text and a grey frame appears around the text.
- Edit the text.
- Click out of the text to end editing.
Deleting from the sheet
Use your keyboard's delete button to delete unwanted text on a sheet. Select a passage or image and click "delete" to delete larger portions of text.
To delete a source, select it by clicking on the white space and press "delete" on your keyboard.
To delete a source, select it by clicking on the white space and press "delete" on your keyboard.
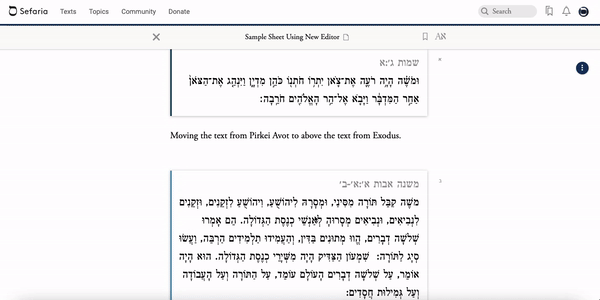
Moving text
Click and drag texts to position them anywhere on the sheet. To move a source, select it by clicking on it and then click again to drag it into place.
The resource panel
Click on the circle with a line of three vertical dots to open the resource panel. Panel highlights include:
- Publish Settings and Sharing
- Copy
- Export to Google Docs
- Divine Name
- Other tools
Deleting a sheet
- Click on the profile button to go to your profile page.
- Hover over the title of the sheet that you would like to delete.
- Click on the X.
- Click "OK". Please note: Once the sheet is deleted, it cannot be retrieved.
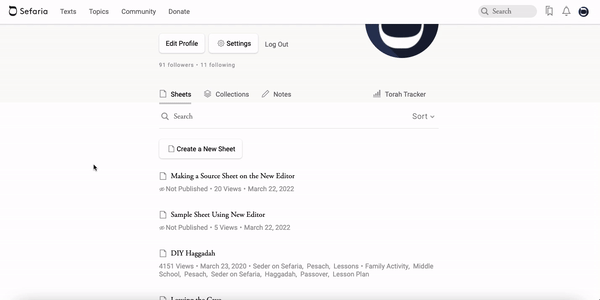
Locating your sheets
- Open your profile page by clicking on the profile icon (containing your initials or image) and selecting "Profile" from the dropdown menu.
- All of your sheets are listed on the profile page.
- Click on "Collections" to view your collections.